Using Native Prompt With .NET MAUI Blazor
.NET MAUI Blazor Native Prompt
Hi all, welcome to this short but I think it will be useful for you.
I will show how we can use alerts and prompts in a simple native way when developing applications for Cross Platform.
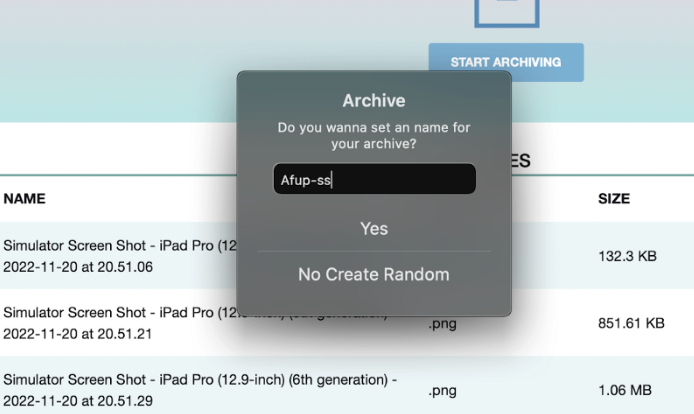
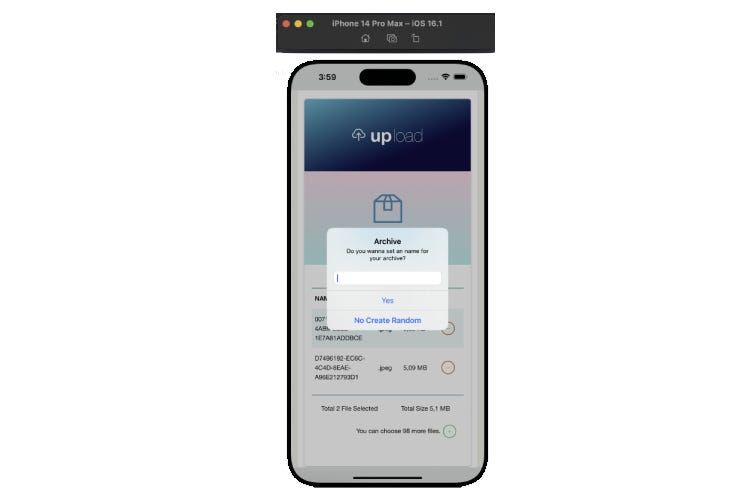
This is what we trying to achive:

First of all we need the create an interface for using all the platform’s named as : IPromptService
Another reason why we use interfaces in particular is that if we want, we can turn it into a web application using shared ui without changing the code.
When you integrate shared ui into the web application, all you have to do is rewrite the service and you will not have a problem in your application because it will use the same interface.
    public interface IPromptService
    {
        Task ShowAlertAsync(string title, string message, string cancel = "OK");
        Task<bool> ShowConfirmationAsync(string title, string message, string accept = "Yes", string cancel = "No");
        Task<string> ShowPromptAsync(string title, string message, string accept = "Yes", string cancel = "No");

        void ShowAlert(string title, string message, string cancel = "OK");
        void ShowConfirmation(string title, string message, Action<bool> callback,
                              string accept = "Yes", string cancel = "No");
    }
Now that we have created our interface, let’s use it to create a class in the MAUI project.
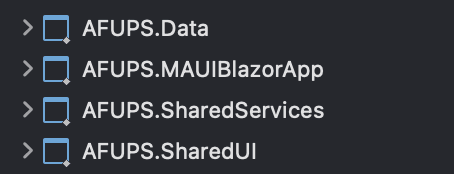
I specifically mention the MAUI project in case you have a fragmented structure like me.

The reason why it is here is that we will actually use Xamarin at this point we will run our alerts with Xamarin .
    public class PromptService : IPromptService
    {
        // ----- async calls (use with "await" - MUST BE ON DISPATCHER THREAD) -----

        public Task ShowAlertAsync(string title, string message, string cancel = "OK")
        {
            return Application.Current.MainPage.DisplayAlert(title, message, cancel);
        }

        public Task<bool> ShowConfirmationAsync(string title, string message, string accept = "Yes", string cancel = "No")
        {
            return Application.Current.MainPage.DisplayAlert(title, message, accept, cancel);
        }

        public Task<string> ShowPromptAsync(string title, string message, string accept = "Yes", string cancel = "No")
        {
            return Application.Current.MainPage.DisplayPromptAsync(title, message, accept, cancel,maxLength:100);
        }

        // ----- "Fire and forget" calls -----

        /// <summary>
        /// "Fire and forget". Method returns BEFORE showing alert.
        /// </summary>
        public void ShowAlert(string title, string message, string cancel = "OK")
        {
            Application.Current.MainPage.Dispatcher.Dispatch(async () =>
                await ShowAlertAsync(title, message, cancel)
            );
        }

        /// <summary>
        /// "Fire and forget". Method returns BEFORE showing alert.
        /// </summary>
        /// <param name="callback">Action to perform afterwards.</param>
        public void ShowConfirmation(string title, string message, Action<bool> callback,
                                     string accept = "Yes", string cancel = "No")
        {
            Application.Current.MainPage.Dispatcher.Dispatch(async () =>
            {
                bool answer = await ShowConfirmationAsync(title, message, accept, cancel);
                callback(answer);
            });
        }
    }
With the class fed from the interface we created, we can now use alert and prompt in the project we want and write logic according to the returns.
And of course it is important to define our service in MauiProgram.cs.
builder.Services.AddSingleton<IPromptService, PromptService>();
Now we can use this service in both ways.
We can add it from the code behind of our page or component. Or we can add it directly to the razor file using @code and razor.
I will go through code behind actually both same.
I go to the .cs file of the Component where I want to print the prompt & I’m injecting our Prompt Service.
    [Inject]
    private IPromptService promptService { get; set; }
Now I can display the prompt on the screen natively by calling the ShowPromptAsync method in this way wherever I want the prompt to appear.


Without making any extra adjustments works smoothly on iOS, Android, MAC and windows. If you proceed in the order I have described, you will not have any problems.
Feel free to leave feedback.
See you soon.